How to create a redpesk OS image
Introduction
This section will talk about how to create a redpesk® OS image with your custom applications.
Creation of a basic redpesk OS image
This first paragraph covers how to create and build a basic redpesk® OS image.
Indeed, it is important to understand the mechanism of image build before building your own custom image.
The redpesk image build system uses mkosi or kickstart files as image recipes. Since the release of Armel 1.11 of redpesk Factory, you can use both methods to build an image. The mkosi files are available in the rp-mkosi repository (Github link here) and the kickstarts in the rp-kickstarts repository (Github link here).
Which one to choose between these both build methods? It’s depending on your needs:
- Mkosi:
- Human readable configuration (INI files, bash scripts…)
- Fast build times (partitioning using systemd-repart, very minimal list of installation steps)
- A lot of output formats: raw disk image (but only GPT format), archives, containers…
- Anaconda:
- Not possible to use in a strict rootless environment (access to
/dev/mapperrequired) - Anaconda build can need space on disk and take quite some time for building
- Kickstarts are less customizables (lack of profiles, scripts, etc.)
- Not possible to use in a strict rootless environment (access to
The great thing here is that redpesk Factory is smart enough to find the right configuration for your image, from the architecture and the distribution you specified.
So in the case of a basic image (without any additional custom application), you do not have to specify any repository. These fields are automatically filled by redpesk Factory.
Here are syntax and reference manuals for build methods:
- Mkosi syntax reference manual : https://github.com/systemd/mkosi/blob/main/mkosi/resources/man/mkosi.1.md
- Kickstart syntax reference manual :https://pykickstart.readthedocs.io/en/latest/kickstart-docs.html
Using the WebUI
To create a redpesk OS image, it is firstly important to create an image project that will be used to own your different OS images. In fact, it is possible to make several images that will differ according to their architecture or redpesk distribution base.
Secondly we will create an image.
Create the image project
First, follow these steps to create an image project:
- Go on “Projects” tab
- Click on the
 button. A window will appear and ask you to select the type of project you want to create.
 - Select “Create an image project” and you will arrive on the image project creation page.
- Then complete your project information and details.
- And click on the
 button then select the project that contains your applications to install into the image. (redpesk OS Samples for our demo example). This step is not important if you just create a “basic” image, but it is primordial if you want to integrate your own application in the image.
- Carefully select your distribution and architecture according to the images you want to create. In the example below, the distribution will be selected accordingly to the inherited project’s distribution.
- Once correctly configured, click the
 button to validate and create the project.
Create the image (Mkosi build mode)
Follow these steps to create the image using mkosi:
- Click on the
 button. The new opened page asks you for the configuration parameters for your image.
 - Basically, set a name, an architecture and the distribution.
- Choose
mkosibetweenmkosioranacondabuild methods. - You can keep a default image like in the video below or use a custom image.
- If you choose a custom image build, please fill the required fields:
- URL of the Git repo for mkosi configuration files.
- The revision of the Git repository (branch, tag or commit).
- Path of the main configuration (e.g.
mkosi-rpi.conf).
- Fill the optional fields if wanted:
- Select options like disable SBOM or vulnerabilities check.
- Save the settings by clicking the
 button.
Create the image (Anaconda build mode)
Follow these steps to create the image using Anaconda:
- Click on the button. The new opened page asks you for the configuration parameters for your image.
- Basically, set a name, an architecture and the distribution.
- Choose
anacondabetweenmkosioranacondabuild methods. - You can keep a default image like in the video below or use a custom image.
- If you choose a custom image build, please fill the required fields:
- URL of the Git repo for kickstarts configuration files.
- The revision of the Git repository (branch, tag or commit).
- Path of the head kickstart (e.g.
Redpesk-minimal-rpi-smack.ks).
- Fill the optional fields if wanted:
- URL of the tree installation repo (https/http)
- Select options like disable SBOM or vulnerabilities check.
- Save the settings by clicking the button.
Build the image
- Then, to finish, go on the build tab by clicking the
 button.
 - And launch the image build like you do for an application, using
 .
.
Using redpesk-cli
The process with rp-cli is the same as with webUI. So, you will need to first create an image project and then an image inside this project.
Create the image project
The image project creation with rp-cli uses the same command line as the application project creation. The only difference is that you need to specify the --images flag.
The -i or --inherit flag specify the project from which our new project will inherit. Most of the time this parent project will contain the applications that you want to install in your custom image.
Finally do not forget to specify your distributions and architecture through the following flags: --mandatory-distro or --optional-distro and --mandatory-arch or --optional-arch.
$ rp-cli projects add -n "Custom Redpesk OS" --images -d "Will create a redpesk OS image with our custom apps integrated using the project inheritance and kickstart modifications" -i redpesk-os-samples --optional-distro redpesk-lts-corn-3.0-update --optional-arch x86_64,aarch64
-- Project creation requested by user --
Creation of "Custom Redpesk OS" project...	[OK]
Create the image
Once the previous project has been created you can add an image inside this project. For that, you need the rp-cli images add command.
It is mandatory to specify a name (-n), an architecture (--arch), a distribution (-d) and a parent project (-p). The parent project here is the project created previously.
$ rp-cli images add -n "Custom Redpesk OS" --arch x86_64 -d redpesk-lts-corn-3.0-update -p custom-redpesk-os
-- Image creation requested by user --
Checking the repositories architecture...	[OK]
Creation of "Custom Redpesk OS" image...	[OK]
Start the image build
Once everything is created, you can easily start the build of your custom image.
$ rp-cli images build custom-redpesk-os
Full ‘rp-cli’ process
Here below, the full process of image build using rp-cli.
N.B.: As it is “asciinema”, you can directly copy the command line from the player!
Creation of a custom Redpesk OS image (Mkosi)
These both sections explain how to build your custom image by using mkosi (INI configuration files) or anaconda (kickstarts) and integrating your applications during the image build.
For this example, let’s say that you want to integrate two personal applications in a redpesk image and we suppose that you have already successfully built these two applications on the factory, inside a project named redpesk-os-samples. These two applications are named helloworld-binding (an IoT.bzh binding) and mustach (another application that is not a binding).
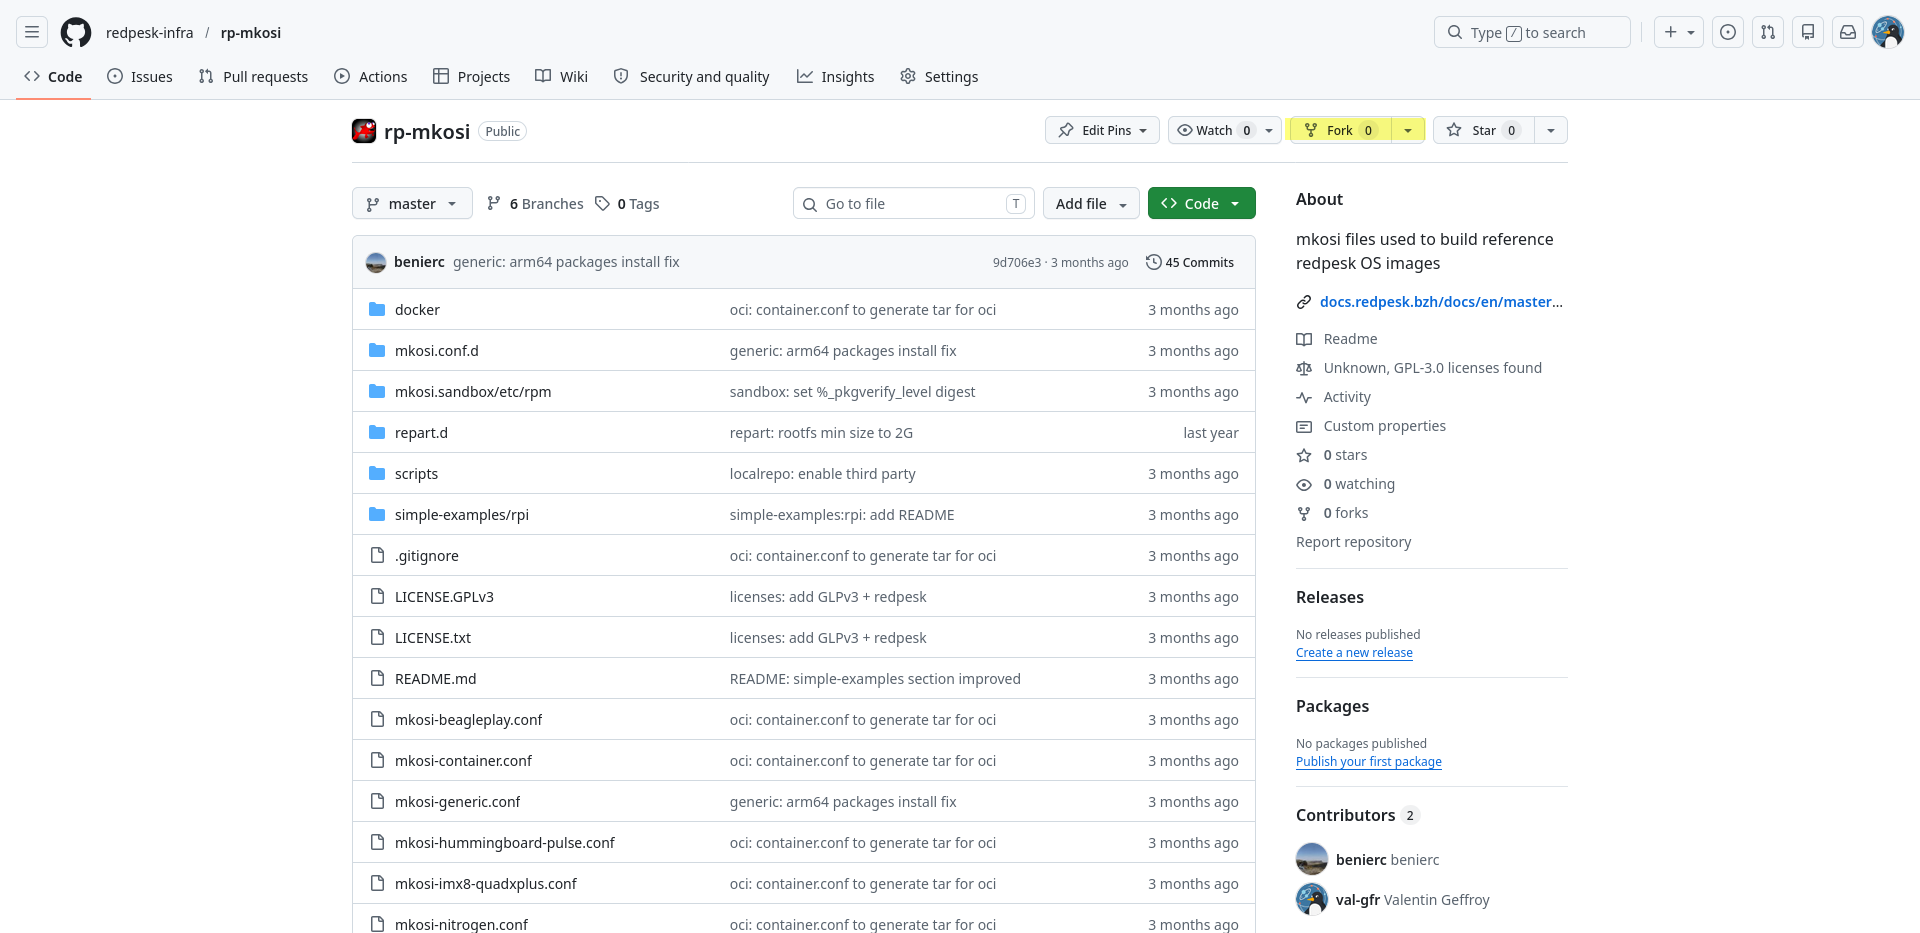
Fork redpesk’s mkosi repo
To avoid having to start from scratch, the best practice is to start from the mkosi default configuration we provide in our rp-mkosi Github repo. Fork this GIT repository by clicking on the “Fork” button at the top right hand corner of the page.
Once you have forked the redpesk mkosi repository, clone it locally onto your computer. Thanks to that you will be able to edit the configuration file you are interested in and to push it to your personal repository.
# Replace <yourUsername>/rp-mkosi.git by the name of your fork repos
$ git clone git@github.com:<yourUsername>/rp-mkosi.git
Modify the configuration
Thanks to the previous step, you are normally all set-up.
Add your apps
The next step is to modify the right files in your rp-mkosi repository in order to add your custom applications.
For example, you can specify the project packages by adding a Packages section like the example below:
--- a/mkosi-rpi.conf
+++ b/mkosi-rpi.conf
@@ -4,6 +4,8 @@ Profiles=core,ubootsecurity,vfat,copykernelimage,commonparts
 [Content]
 Bootable=no
 Packages=kernel,uboot,bcm2711-firmware,bcm2835-firmware
+Packages=NetworkManager,vim,dnf,iproute,vim-minimal,openssh-server
+Packages=afb-app-manager,afb-app-manager-rpm,afb-binder,sec-lsm-manager-smack,sec-smack-rules

 [Distribution]
 Architecture=arm64
Image initialization in redpesk Factory
This is maybe the most important step.
The goal is to create an image project inheriting from redpesk-os-samples (the project containing your apps), and then to create an image that includes our pre-installed apps.
We will name the image project “My Custom Images Project” (my-custom-images-project) and the custom image “My Custom Redpesk OS” (my-custom-redpesk-os).
For the image creation, you will need to specify your GIT repository containing the mkosi files you modified before.
Using the webUI
Image project creation:
Follow the steps explained in the chapter : Create an image project with the webUI
NOTE: At the “inheritance” step, be sure to select and add the project that contains your applications
Image creation:
Here you can now use the first steps of the chapter Create a mkosi image with the webUI.
But before saving the image settings, develop the panel Advanced settings and complete the fields according to your kickstart fork:
- Mkosi Git repo URL :
https://github.com/<yourUsername>/rp-mkosi.git- Branch :
corn-3.0-update - File :
mkosi-rpi.conf - Profiles :
smack,minimal,localrepo(cf. details here) - Packages : your project’s application names
- Branch :
You can now save the image settings by clicking on the save button.
Image build
Follow the steps explained in the chapter : Build image with the webUI
Using rp-cli
Image project creation:
- Create an image project with
rp-cli(see all commands)
$ rp-cli projects add -n "My Custom Images Project" --images -d "Will create a redpesk OS image with our custom apps integrated using the project inheritance and mkosi modifications" -i redpesk-os-samples --optional-distro redpesk-lts-corn-3.0-update --optional-arch x86_64,aarch64
Image creation:
- Create an image with
rp-cli(see all commands) (Please change<yourUsername>with your Github username in order to have the right GIT repository URL).
$ rp-cli images add -n "My Custom Redpesk OS" --arch x86_64 -d redpesk-lts-corn-3.0-update -p my-custom-images-project --mkosi-url "https://github.com/<yourUsername>/rp-mkosi.git" --mkosi-branch "corn-3.0-update" --mkosi-file "mkosi-generic.conf"
Creation of a custom Redpesk OS image (anaconda)
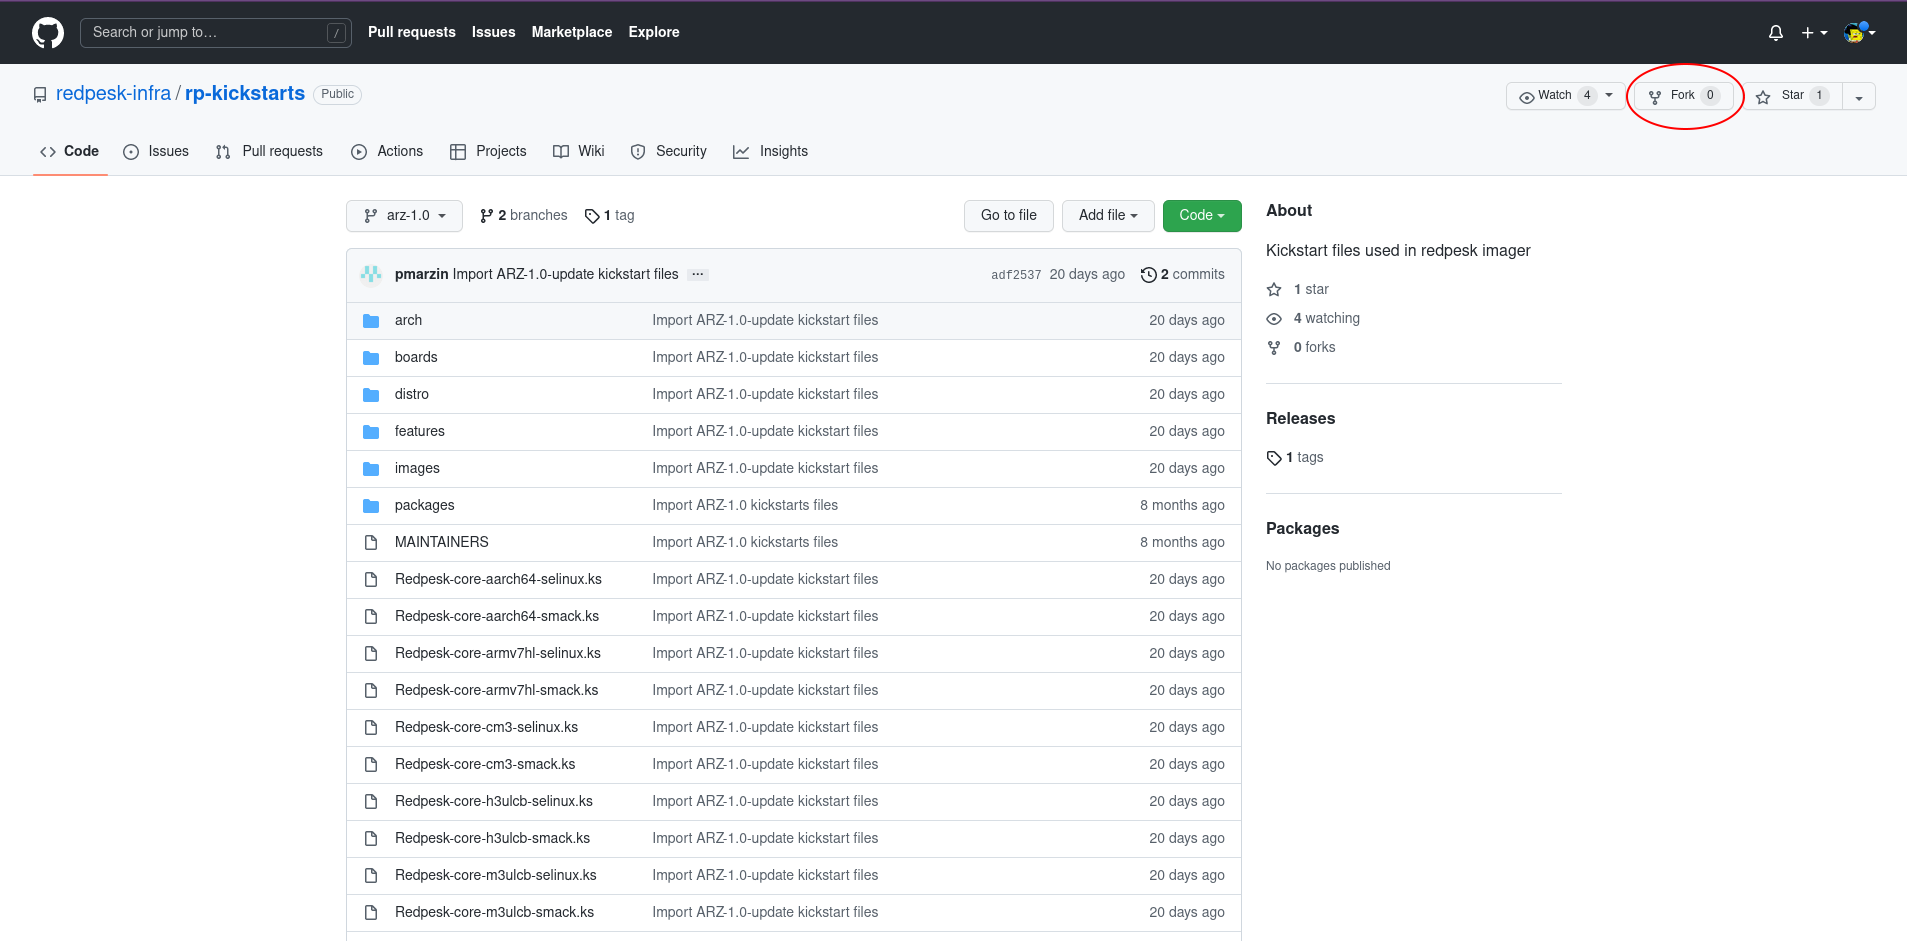
Fork redpesk’s kickstarts
In order not to have to start from scratch, the best practice is to start from the kickstarts we provide on our Github. Fork this GIT repository by clicking on the “Fork” button at the top right hand corner of the page.
Once you have forked the redpesk kickstarts repository, clone it locally onto your computer. Thanks to that you will be able to edit the kickstart you are interested in and to push it to your personal repository.
# Replace <yourUsername>/rp-kickstarts.git by the name of your fork repos
$ git clone git@github.com:<yourUsername>/rp-kickstarts.git
Modify the kickstart
Thanks to the previous step, you are normally all set-up.
Add your apps
The next step is to modify the right files in your rp-kickstarts repository in order to add your custom applications.
These files are packages/project-apps.ks and packages/binding.ks.
In project-apps.ks, you can add the applications that are not Iot.bzh bindings. In binding.ks, you can add applications that are bindings.
This is important as the security of the binding will be set up during the first boot of the image.
So in your GIT repository, change these files by adding the name of your application package and then commit and push your changes.
$ cd rp-kickstarts/
$ git checkout corn-3.0-update
$ vim packages/project-apps.ks
$ vim packages/binding.ks
$ git commit -as
$ git push
As an example, after your modification, you should obtain a diff like this:
diff --git a/packages/binding.ks b/packages/binding.ks
index f58eca0..70f1943 100644
--- a/packages/binding.ks
+++ b/packages/binding.ks
@@ -4,6 +4,7 @@
 %post
 BINDING="\
        helloworld-binding \
+       signal-composer-plugins-demo-n2k \
 "
 echo "BINDING=\"\$BINDING ${BINDING}\"" >> /tmp/binding-list
 %end
diff --git a/packages/project-apps.ks b/packages/project-apps.ks
index beff7e9..681b9f9 100644
--- a/packages/project-apps.ks
+++ b/packages/project-apps.ks
@@ -2,4 +2,5 @@

 %packages
 #CUSTOM PACKAGES LIST WILL COME HERE
+mustach
 %end
Modify the root password
An other example could be to modify the redpesk OS default password for the user ‘root’.
To generate a new encrypted password, you could use the program mkpasswd:
LOCENV> mkpasswd -m sha512crypt MySecuredPassword MyTinySaltSeed
$6$MyTinySaltSeed$AUoj2Dy2SoH3X14UsI7DQP3YAef2FkBcSlBSLLSTEd.rQ6Msoe.0xgVwY9omHzEa/wLPK9kK32YkLSUg/3EEk0
Then use the generated output to set your new password for root user in features/password.ks.
diff --git a/features/password.ks b/features/password.ks
index c7aa3c0..604e261 100644
--- a/features/password.ks
+++ b/features/password.ks
@@ -1,5 +1,5 @@
 # Root password setup
 #rootpw --plaintext root
-rootpw --iscrypted "r$6$/0r4m3q/3.Nd4LUq$IJof8jdAwstBb1W5Q0fiQHEUouD5yYrmfU27wORmfJarXRfMclZNWORdCHwDTAYrhImZquhJp6xAB1L5EeZir0"
+rootpw --iscrypted "$6$MyTinySaltSeed$AUoj2Dy2SoH3X14UsI7DQP3YAef2FkBcSlBSLLSTEd.rQ6Msoe.0xgVwY9omHzEa/wLPK9kK32YkLSUg/3EEk0"
 # System authorization information
 auth --useshadow --passalgo=sha512
Please be sure to respect the Kickstart syntaxes when modifying them.
Image initialization in redpesk Factory
This is maybe the most important step.
The goal is to create an image project inheriting from redpesk-os-samples (the project containing your apps), and then to create an image that includes our pre-installed apps.
We will name the image project “My Custom Images Project” (my-custom-images-project) and the custom image “My Custom Redpesk OS” (my-custom-redpesk-os).
For the image creation, you will need to specify your GIT repository containing the kickstarts you modified before (cf. Fork our basic kickstarts).
NOTE: The app names you have added into your kickstart must be a part of the project inheritance you added to your image project.
In our example, mustach and signal-composer-plugins-demo-n2k are apps owned by the redpesk-os-samples project.
Using the webUI
Image project creation:
Follow the steps explained in the chapter : Create an image project with the webUI
NOTE: At the “inheritance” step, be sure to select and add the project that contains your applications
Image creation:
Here you can now use the first steps of the chapter Create an anaconda image with the webUI.
But before saving the image settings, develop the panel Advanced settings and complete the fields according to your kickstart fork:
- Kickstart git repo URL :
https://github.com/<yourUsername>/rp-kickstarts.git- Branch :
corn-3.0-update - File :
Redpesk-minimal-x86_64-smack.ks
- Branch :
You can now save the image settings by clicking on the save button.
Image build
Follow the steps explained in the chapter : Build image with the webUI
Using rp-cli
Image project creation:
- Create an image project with
rp-cli(see all commands)
$ rp-cli projects add -n "My Custom Images Project" --images -d "Will create a redpesk OS image with our custom apps integrated using the project inheritance and kickstart modifications" -i redpesk-os-samples --optional-distro redpesk-lts-corn-3.0-update --optional-arch x86_64,aarch64
Image creation:
- Create an image with
rp-cli(see all commands) (Please change<yourUsername>with your Github username in order to have the right GIT repository URL).
$ rp-cli images add -n "My Custom Redpesk OS" --arch x86_64 -d redpesk-lts-corn-3.0-update -p my-custom-images-project --ks-url "https://github.com/<yourUsername>/rp-kickstarts.git" --ks-branch "corn-3.0-update" -k "Redpesk-minimal-x86_64-smack.ks"
Image build
Once your changes have been pushed to your GIT repository you can request redpesk Factory to build your image.
$ rp-cli images build my-custom-redpesk-os -v
At the end of the build you can download your image in order to test it locally (using qemu for example).
- In the webUI, you can click on the ‘Latest image URL:’ link in the image overview.
- With
rp-cli, runrp-cli images get my-custom-redpesk-os -vand do a CTRL+click on the ‘Download URL:’ line.
N.B.: Please refer to this section to see how to boot a redpesk image.